What is the seed stitch and how do I use it?
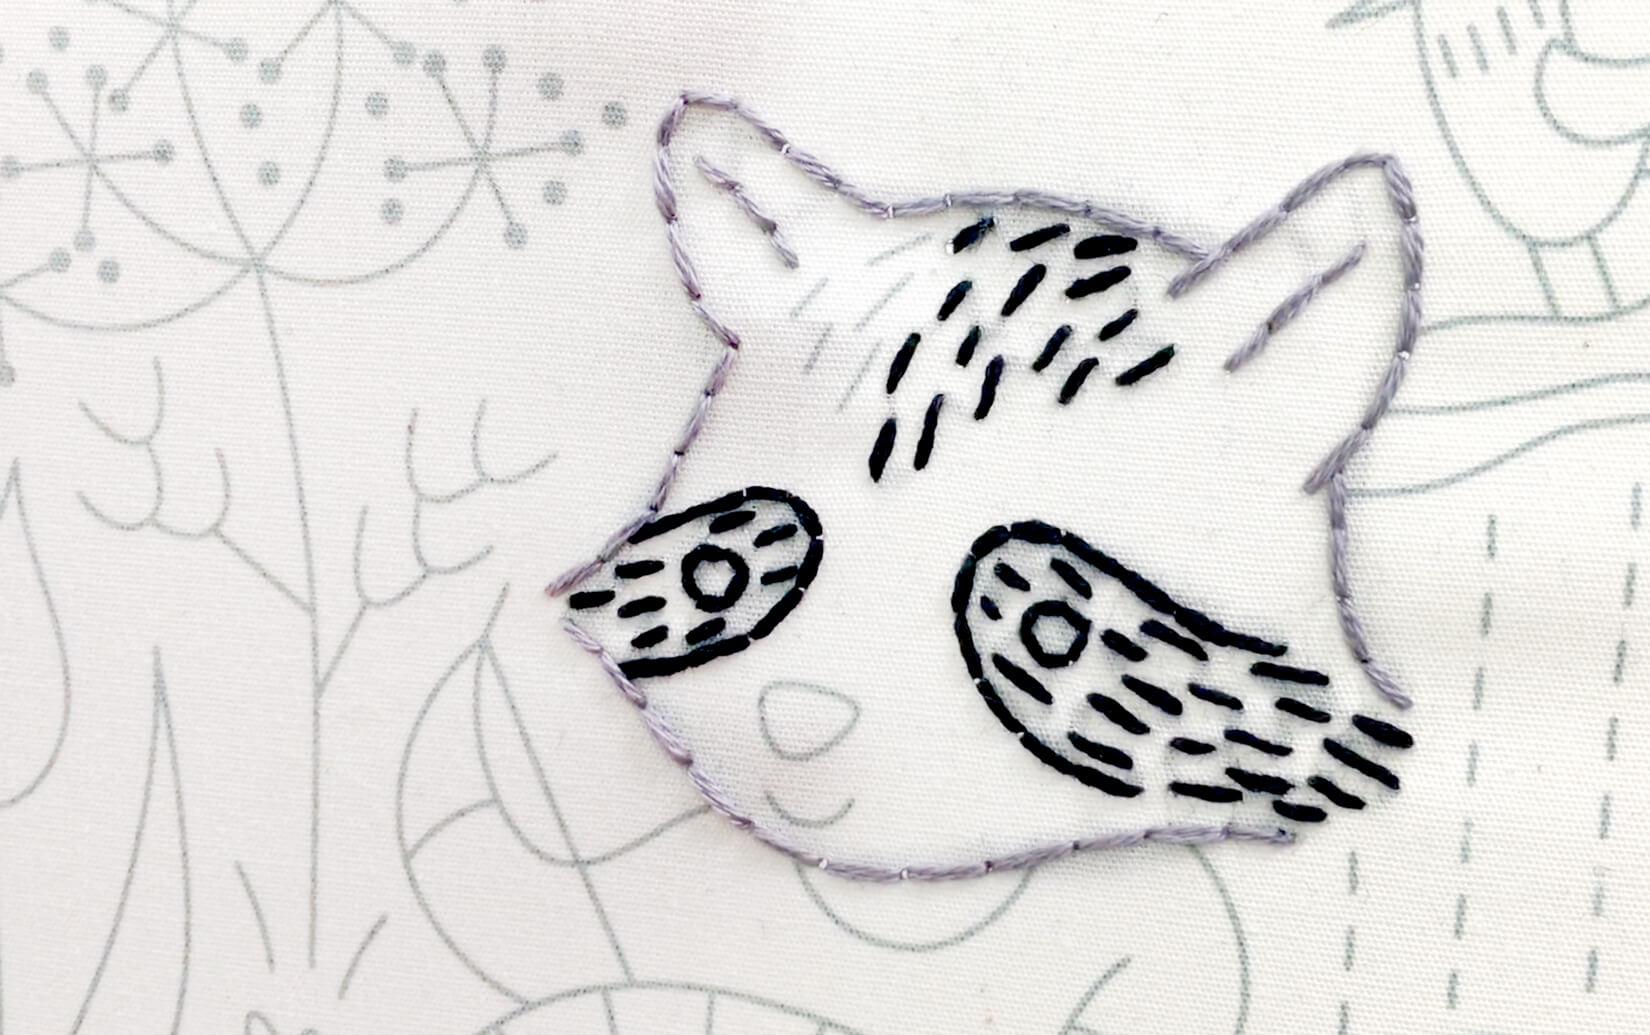
The seed stitch consists of a series of straight stitches and is typically used as a fill stitch in embroidery. It can also be seen as a base layer under the satin stitch to give a little more "poof." Typically, seed stitches are stitched in all different directions, making a random pattern. However, in the Stitching Raccoon Sampler, we've put our seed stitches going the same direction to represent the Raccoon's fur.
Get the Stitching Raccoon Sampler for FREE.
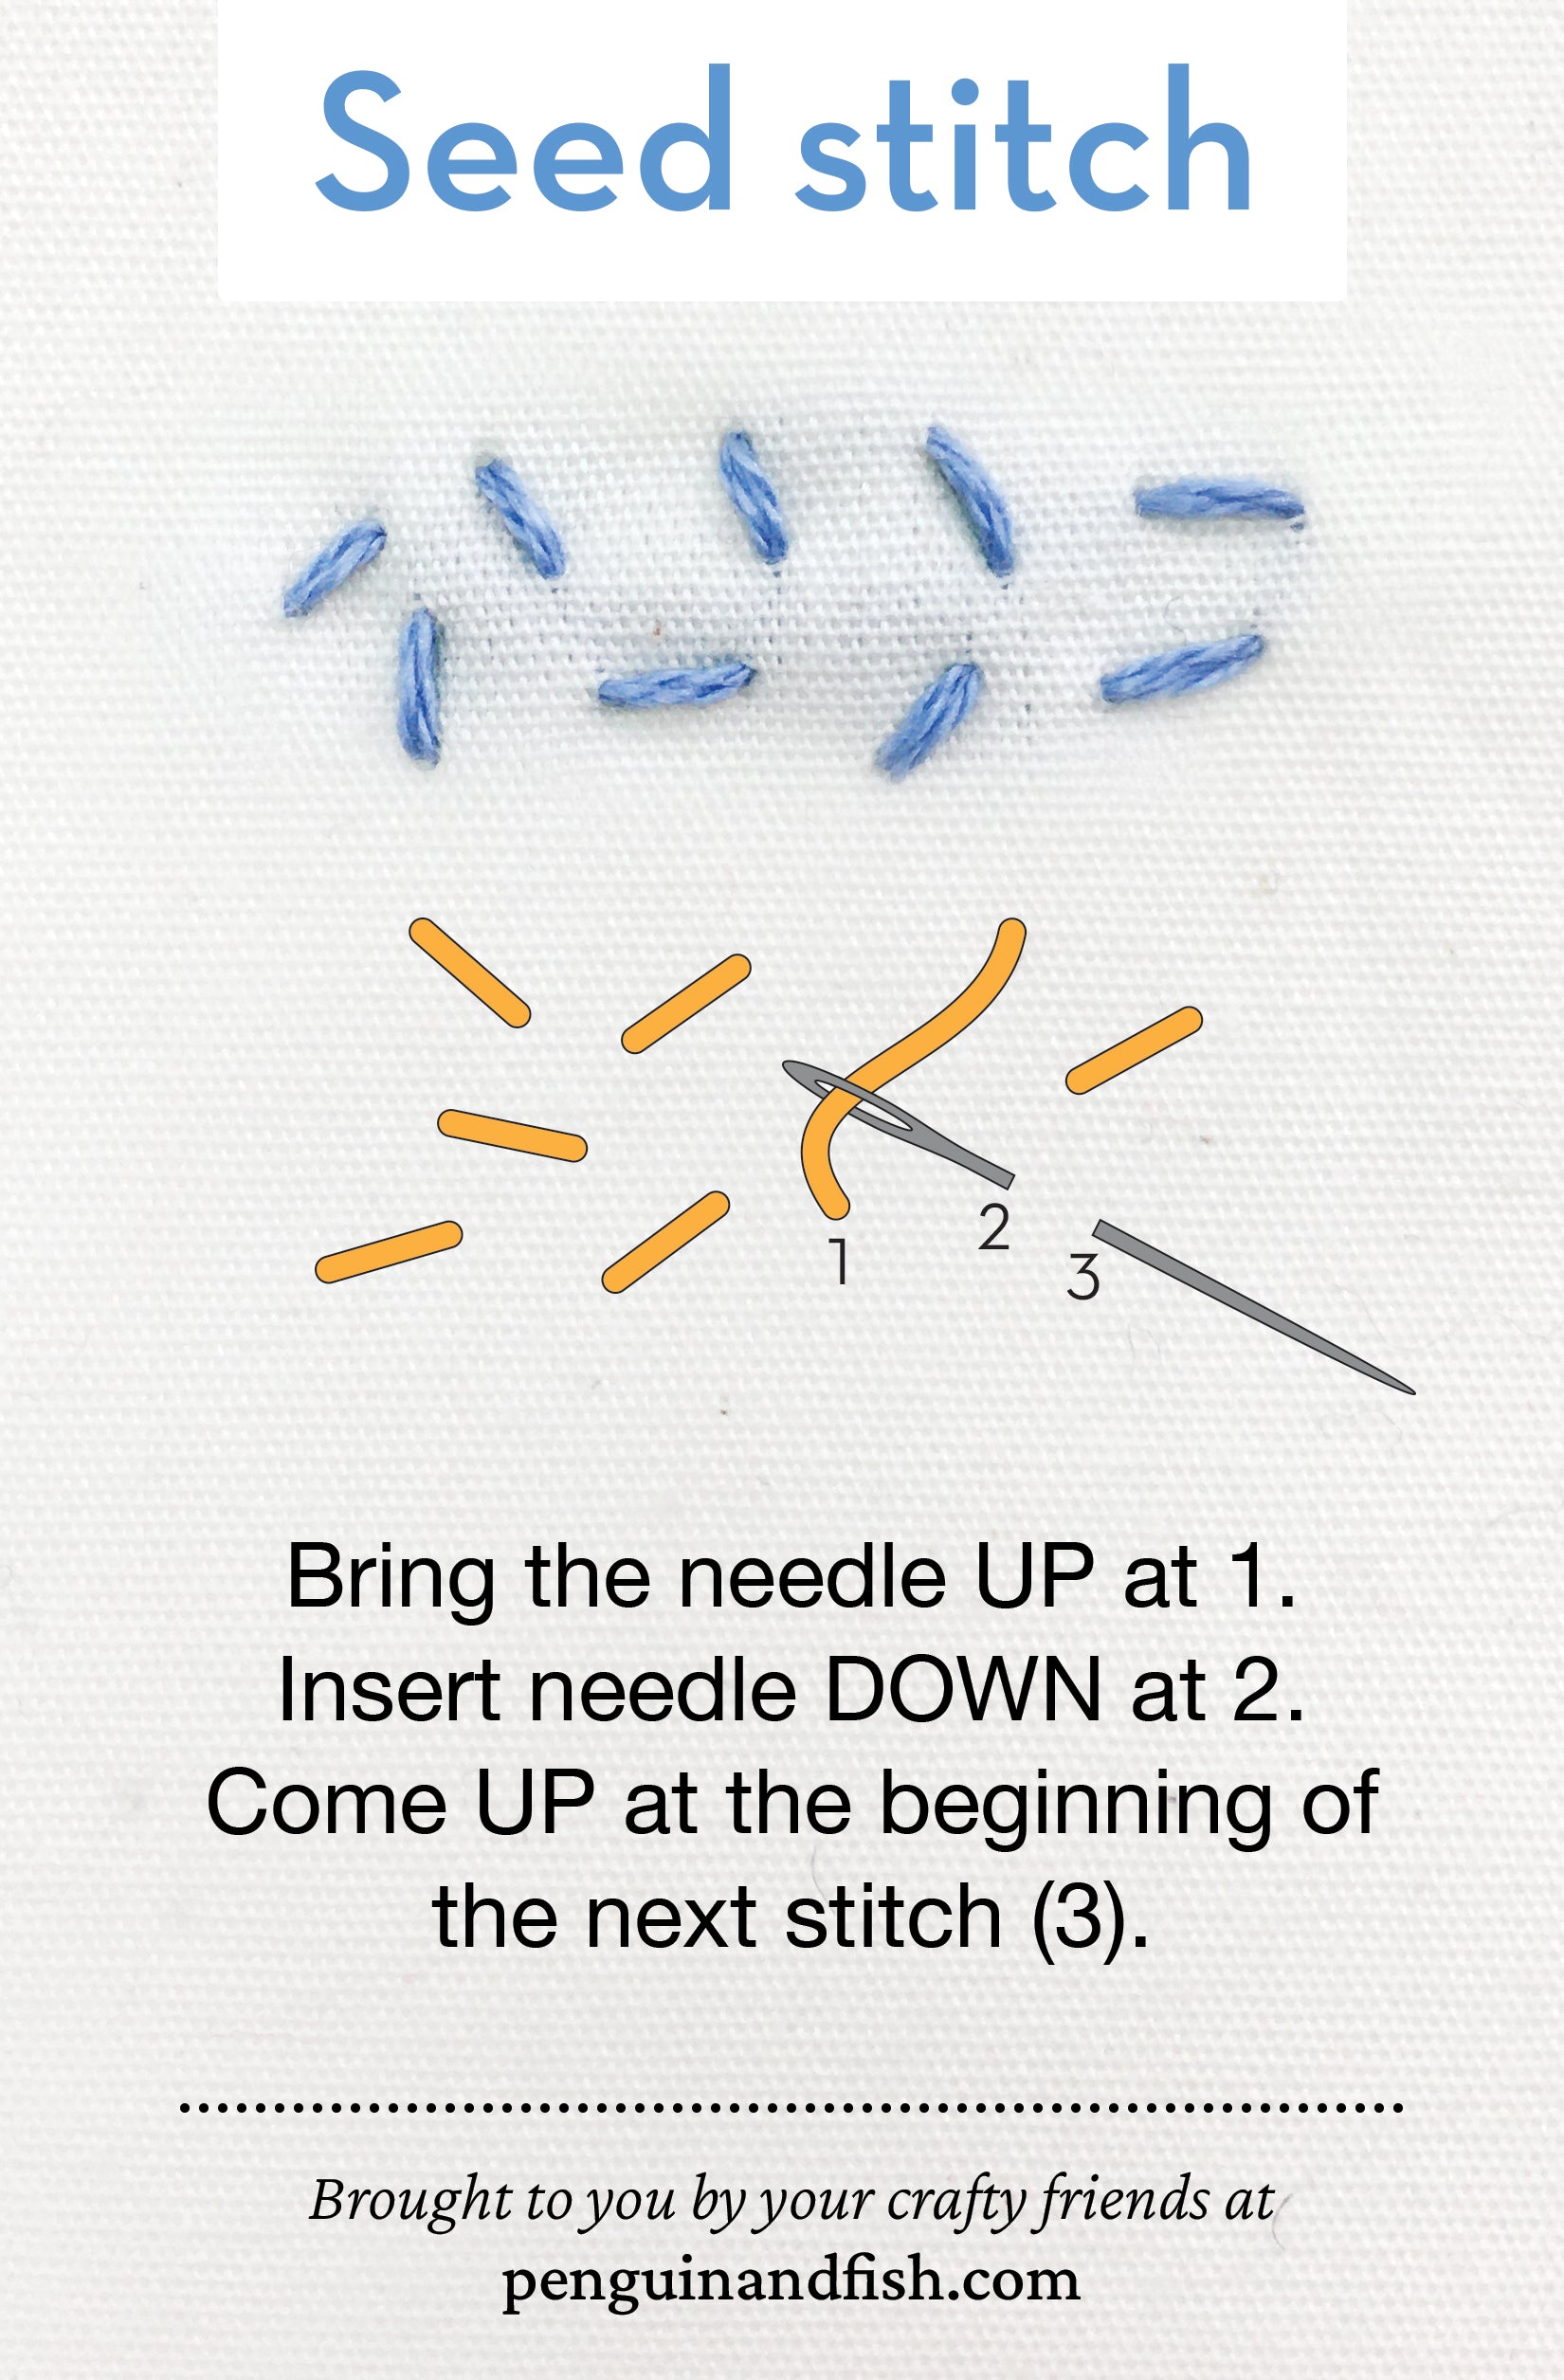
Seed stitch diagram
Below is what a typical diagram for the seed stitch may look like in an embroidery pattern or on other how-to pages.

See the seed stitch in action
Follow along with this quick video to see how each step of the seed stitch comes together.
Step-by-step instructions
Now, let's walk through each step in the seed stitch together.
Step 1: From the backside of the fabric, bring your needle up at your starting point.

Step 2: Insert the needle down a stitch length from your starting point. This stitch can go in whatever direction you would like.

Step 3: Now, come back up a short distance from the last stitch and make another stitch. Continue making your seed stitches until you have filled in your desired area.


Save it for later
Want to remember how to do the seed stitch? Pin the image below to Pinterest as a quick reference for later!

Give it a try, you can do it!
Now it's your turn to grab a needle, some embroidery floss, and give it a go! Practice the seed stitch, along with other basic embroidery stitches, in the Stitching Raccoon Sampler. Get the embroidery pattern for FREE by signing up below!


1 comment
Maureen Hochberg
Thanks for the free Raccoon.