
What is the chain stitch and how do I use it?
The chain stitch is made up of several interlocking loops, or single chain stitches. This stitch is often used as a thicker outline stitch, but can also be used as an embroidery fill stitch when multiple rows are stitched next to one another. It's commonly featured alongside other outline stitches such as the backstitch or stem stitch. In the Stitching Raccoon Sampler, the chain stitch is featured in the stripes on the Raccoon's tail.

Get the Stitching Raccoon Sampler for FREE.
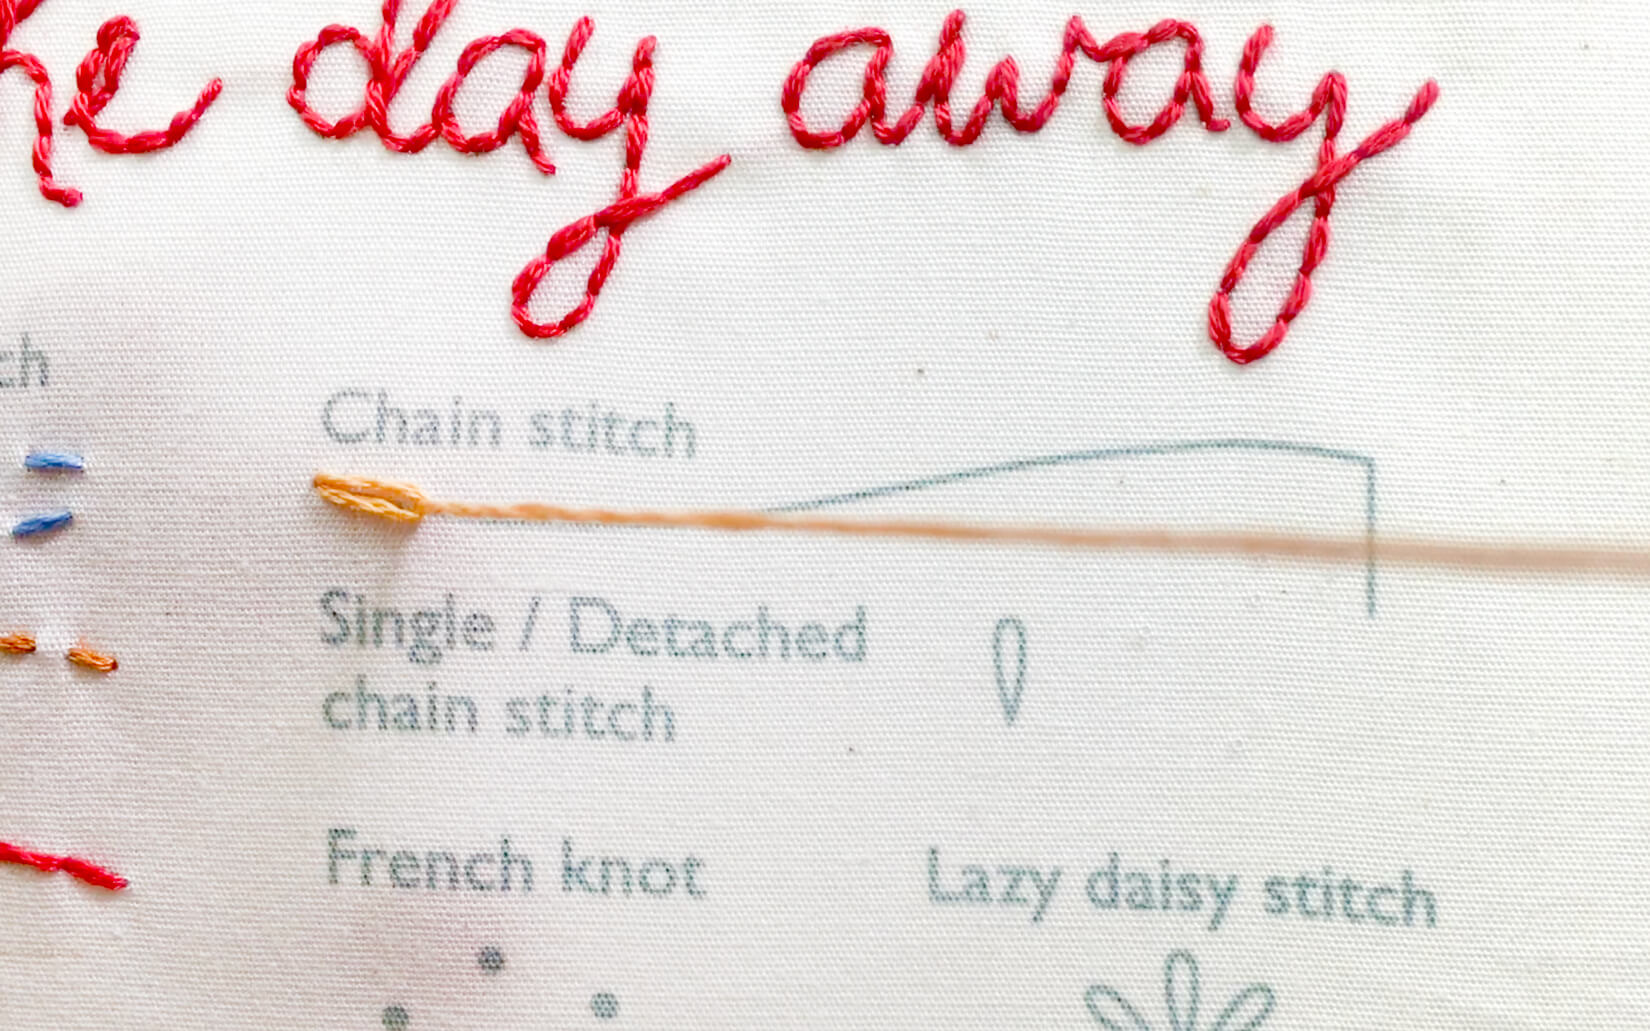
Chain stitch diagram
Below is what a typical diagram for the chain stitch may look like in an embroidery pattern or on other how-to pages.

See the chain stitch in action
Follow along with this quick video to see how each step of the chain stitch comes together.
Step-by-step instructions
Now, let's walk through each step in the chain stitch together.
Step 1: Begin by bringing the needle up from the back of your fabric at your starting point.

Step 2: Then, with the embroidery floss off to the side, insert the needle back down through the same hole you just came up, but do not pull the floss all the way through.

Step 3: Now, bring your needle back up, about a stitch length ahead, making sure the embroidery floss goes around your needle. Pull the needle so the floss comes all the way through. You should have a loop of floss. This is your first chain stitch.


Step 4: Now, putting the needle back through the hole you just came up, inside the loop, repeat this process of coming up a stitch length ahead and creating a loop.


Step 5: When you’ve reached the end of the line you are stitching, make a tiny stitch over the last loop to secure it in place.


Step 6: To do a 90-degree corner with the chain stitch, secure your final loop with a small stitch, then bring the needle up inside the last loop and create another chain stitch going along the new line.

Save it for later
Want to remember how to do the chain stitch? Pin the image below to Pinterest as a quick reference for later!

Give it a try, you can do it!
Now it's your turn to grab a needle, some embroidery floss, and give it a go! Practice the chain stitch, along with other basic embroidery stitches, in the Stitching Raccoon Sampler. Get the embroidery pattern for FREE by signing up below.
